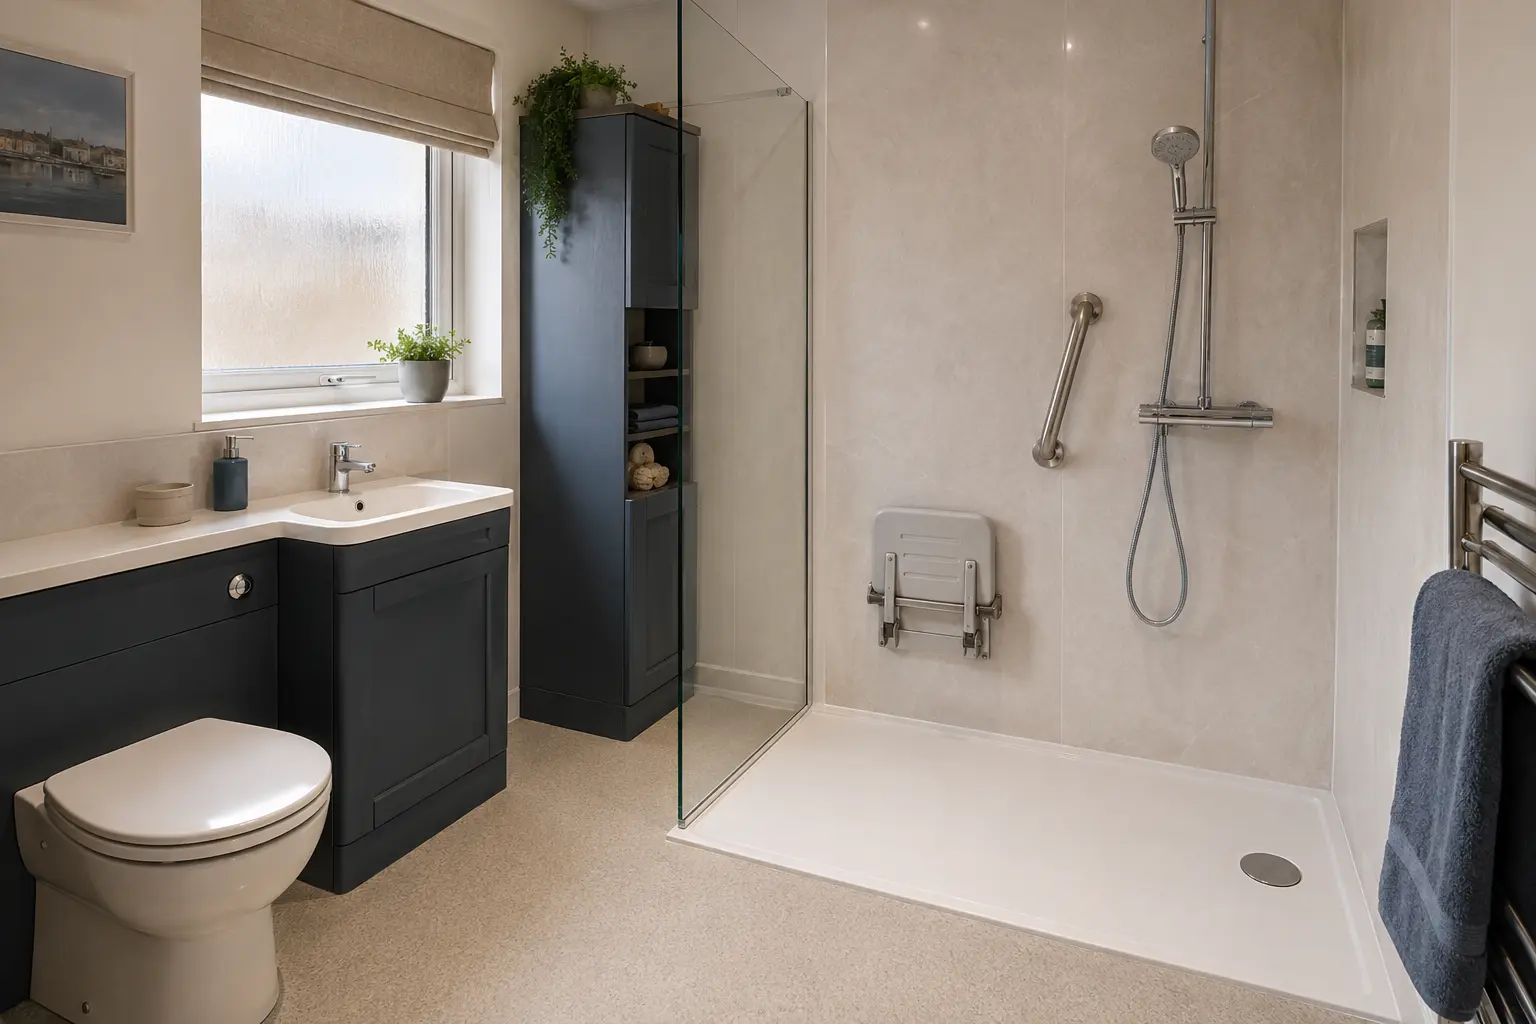
Wet Room or Shower Tray: What Is the Difference?
Compare the entrance, floor work, water protection and upkeep before choosing your shower layout.
Understand the two arrangements
A shower tray provides a defined base for the shower, connected to a waste outlet and fitted with the appropriate wall and screen details. In a wet room, a suitable floor system forms the shower area and directs water to the drain. The surface you see is only part of either installation; what supports and seals it matters too.
Both approaches can suit attractive bathrooms, but they involve different preparation. A wet room is not simply a tiled floor with a drain added, and a tray is not automatically a high step. Ask what can be fitted in your room and compare the proposed finished arrangement rather than choosing from a label alone.
Compare the actual entrance height
If stepping into the shower is a concern, ask about the finished height from the bathroom floor. Some trays can be installed with a low entrance where the building and drainage allow it. Other installations need more height. The tray's brochure thickness does not necessarily equal the step you will use after fitting.
A wet-room design may provide a level approach, but it needs a suitable floor and drain arrangement. Where individual mobility or care needs are involved, get the appropriate advice on the whole layout. A level entrance is only one part of usability; screen position, clear space, support and control reach also need to work for the person.
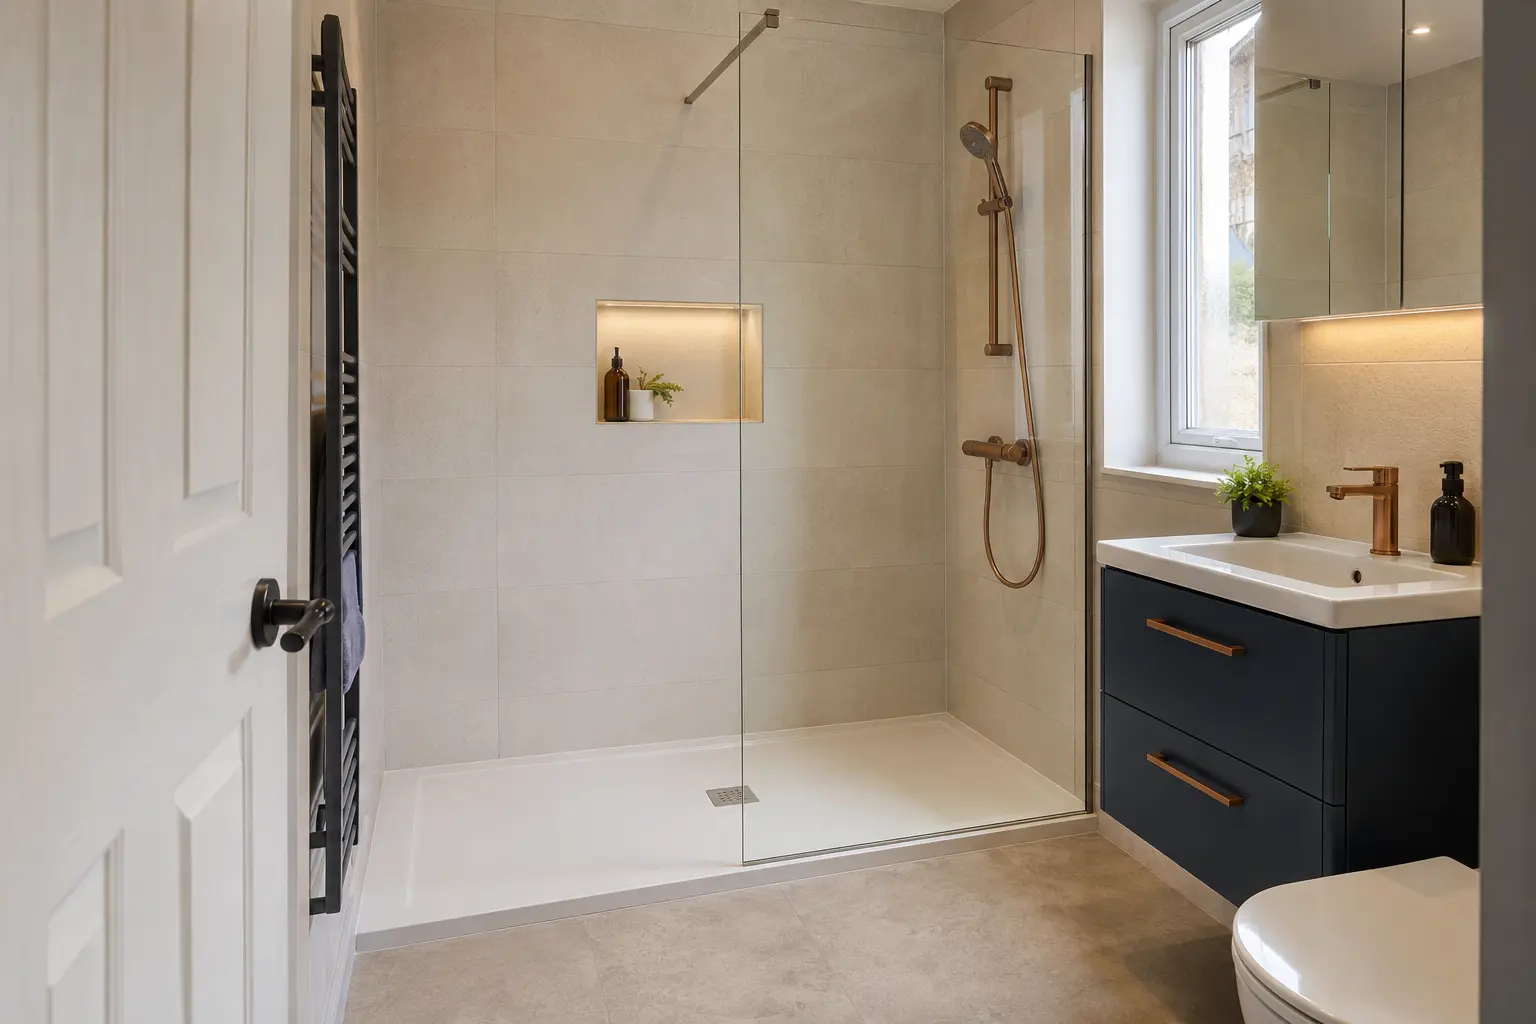
Check what the floor can accommodate
The floor construction affects where the drain and waste pipe can go. Creating the required space may involve opening the floor or carrying out work from below. Ask what access is needed and whether adjacent rooms will be affected. The answer should form part of the quote, including the work required to finish those areas afterwards.
A wet-room system needs the correct slope towards the drain and suitable preparation beneath the visible finish. A tray needs the support and connection specified for its installation. Neither should be fitted over an unsuitable or damaged base. Existing movement, damp or weak material needs investigating before the final system is chosen and covered.
Understand how water is kept out of the building
Water protection depends on the complete installation: surfaces, edges, corners, holes for pipes and connections to the drain. Tiles and grout alone should not be assumed to provide the whole waterproofing system. Ask which system is being used and whether the installer is following its instructions for the specific room and construction.
A tray also depends on correctly detailed joins with walls and screens. Do not assume it removes the need for careful sealing and maintenance. Keep the product details and any supplied installation records. If a leak appears later, knowing the actual products is more helpful than describing the room simply as a wet room or a walk-in shower.
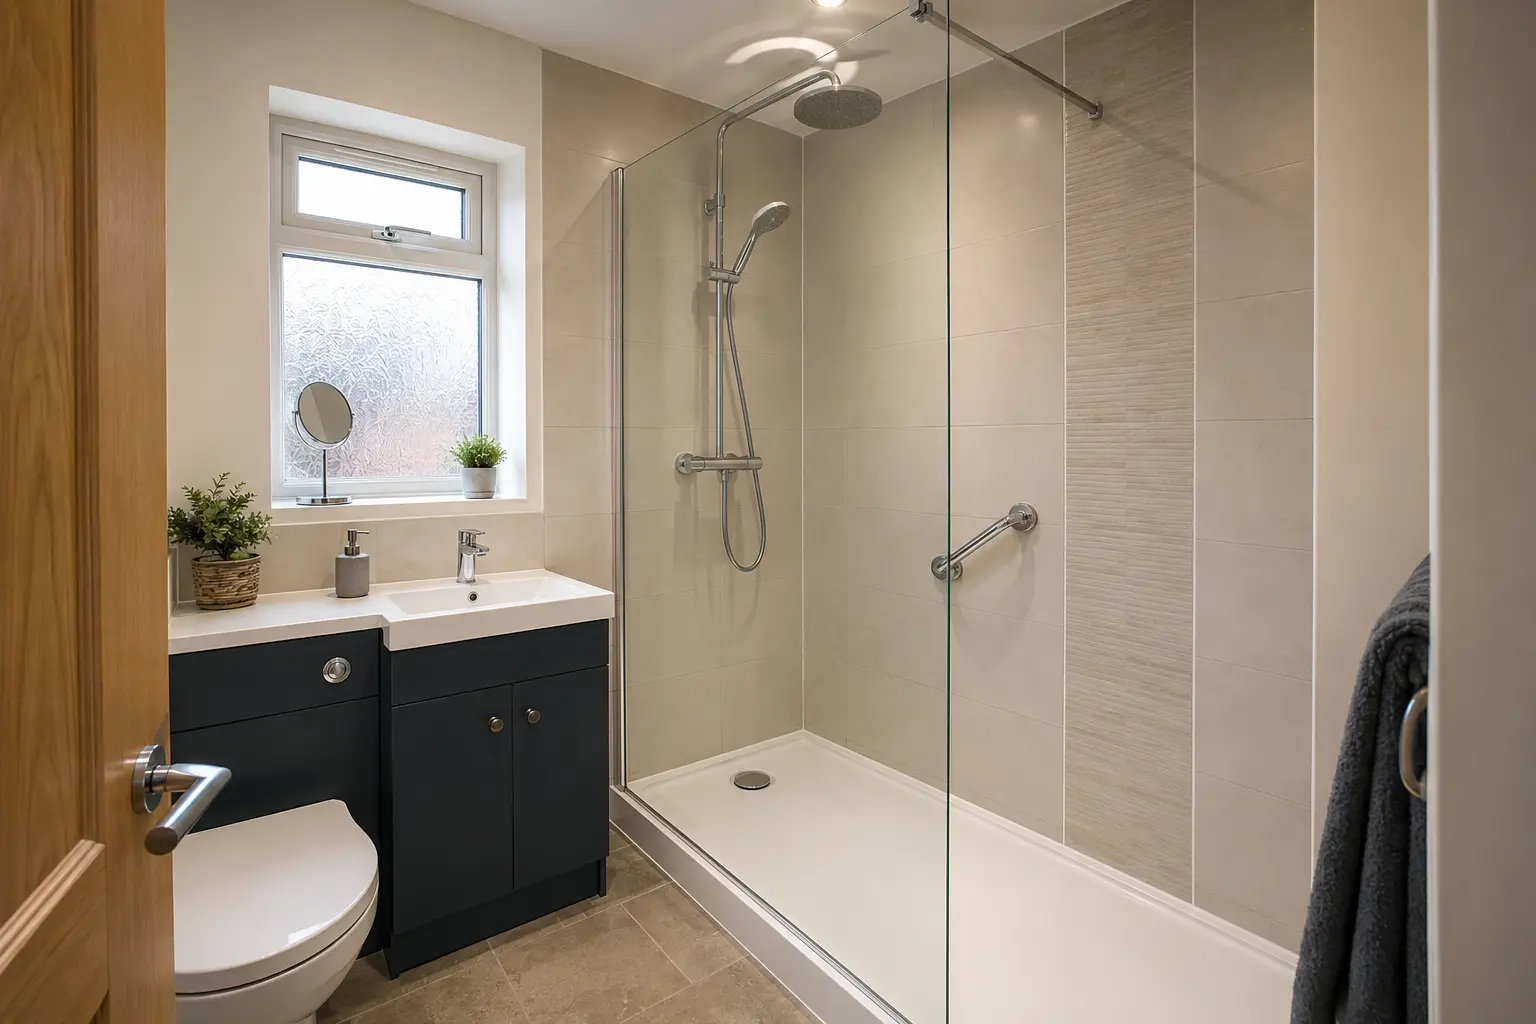
Plan glass and the surrounding floor
An open shower needs a suitable arrangement to control spray. The screen length, shower position and available floor space should be considered together. In a compact room, a more enclosed design may keep nearby fittings and the route to the door drier. Openness is not an advantage if water regularly reaches an area that should remain dry.
Discuss where towels, furniture and electrical fittings will sit relative to the shower. The whole room needs to suit its intended use. A wet-room floor does not mean water can be directed anywhere without thought, and a large tray does not guarantee spray stays inside it. Follow the selected system and product requirements when settling the layout.
Compare cleaning and future maintenance
Both options need access to the drain for cleaning. Ask how the trap or removable cover is reached and follow the instructions for the fitted product. Glass, wall joints and seals also require routine care. Do not choose a system on a claim that it will never need cleaning or attention.
A tray has its own surface and edge details; a tiled wet-room floor includes joints and its drainage arrangement. Compare the practical upkeep of the actual products offered. Textured surfaces and finishes may need particular cleaning methods. Keep the instructions and report opening joints, unexplained damp or water draining differently rather than treating those changes as normal wear.
Compare installed prices, not the base alone
Ask for the complete cost of each suitable option. Include removal, floor work, plumbing, waterproofing, wall finishes, screens and repairs to surrounding surfaces. The cheaper product is not necessarily the cheaper installation if it requires more preparation in your property. Likewise, a higher price needs an explanation of the products and work it covers.
Confirm the expected disruption and when the shower can first be used. Drying and setting instructions may extend beyond the final fitting day. Choose the option that meets the household's needs and suits the building, with the preparation and care understood. The useful comparison is between two complete, properly specified installations, not between a tray photograph and a wet-room photograph.
Planning this work in Derry? See our shower room installation in derry page for the service and how to request a quote.